Pretzel of Doom
aka: FALLing Skies, Calamari Chaos (both flipped)
Track Length: 45 balls
Target Point Goal (Spirit Animals allowed):
- No Powers (Any Lvl): 950K (Record: 1.6M)
- Tier 1 (Lvl 33-65): 1.6M (Record: 3.3M)
- Tier 2 (Lvl 66-76): 3.2M (Record: 2.8M)
- Tier 3 (Lvl 77-80): 4.4M (Record: 5.4M)
- Board Record: 5.4M (6.3M with beetle, 6.5M with eagle)

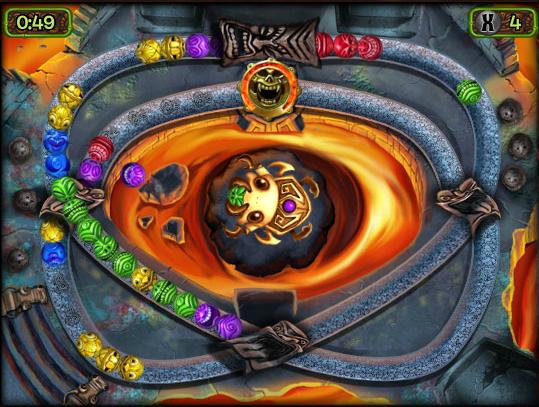
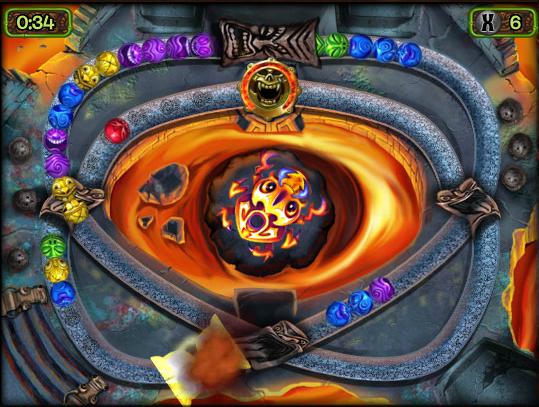
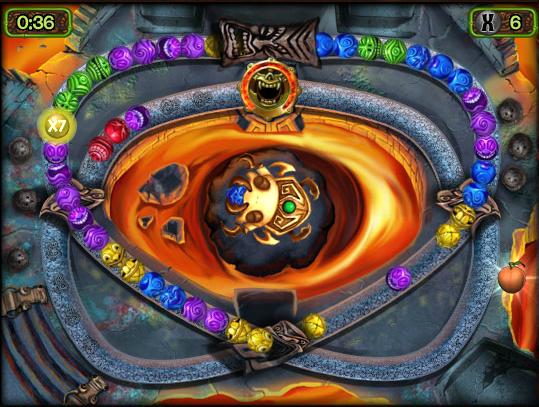
Pretzel of Doom (originally called Crossroads) is an original board made for Zuma Blitz. Introduced February 2011, the paths cross roads at the bottom (or top, if playing a variant) making for gap shots as well as near the end of the track on both sides.
Strategies
Arranged from easiest to perform to best way to get points.
Cannon + Fruit Strat + Chain Strat
Why would I need an explanation for this? Simply use your cannon to blast fruit while trying to score as many points as possible.

Fruit Strat + Curve Clear
This is a bit trickier - the goal simply put would be to clear as many balls as possible while clearing room to get fruit at the same time (possible fruit locations listed above). However there is a limit to the number of curve clears you can do on one side, and that limit happens to be eight. (The ninth will cause balls to go all the way to the skull and end your game.)
Gap - Bottom
This is the most used strategy for high scores prior to November 2011. There are two strategies to this: You either wait for the right combination of balls to double tap (slower) or you can add more balls in order to get double taps quicker. It is recommended you use the Epic Fruit powerup.
You might find it easier to get gap bonuses if you alternate gap shots between the left/right side.
Gap - Top (near end)
This technique is difficult to perform but leads to some of the highest scores on this board. It was put to practical use after November 2011. There are specific steps to ensure you can maintain this type of gap.

Step 1: Aim balls at left/right side (don't make matches at this point)

Step 2: Create holes to prevent rollbacks from combos

Step 3: Work your way up to creating gaps

Step 4: Continue aiming through gap for gapshot points

Exception: balls to one side of gap roll back...

Saving gap formation (noting rollback is a yellow ball at end)