Aweful Visage
aka: Major Mouthful (flipped)
Track Length: 60 balls
Target Point Goal (Spirit Animals allowed):
- No Powers (Any Lvl): 1.7M
- Tier 1 (Lvl 33-65): 3.5M
- Tier 2 (Lvl 66-76): 5.5M
- Tier 3 (Lvl 77-80): 7.5M
- Board Record: 10.8M+ (ongoing)

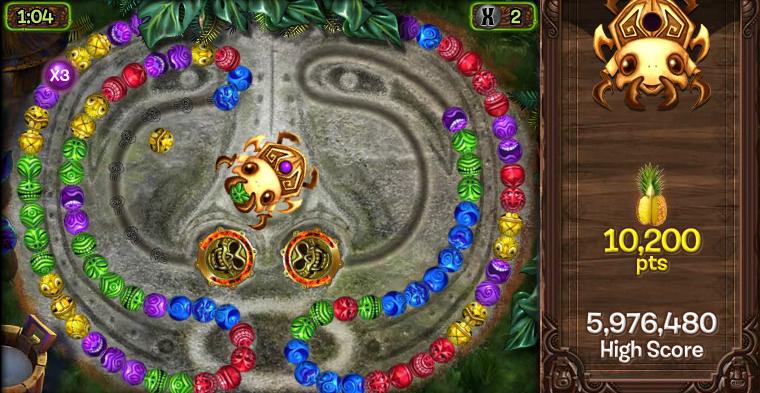
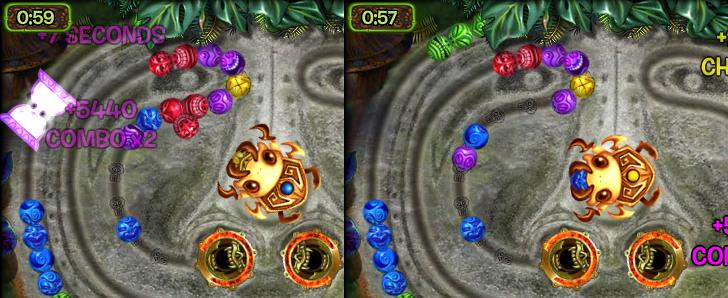
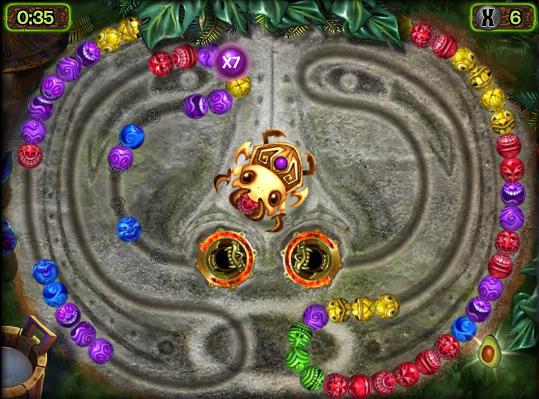
Aweful Visage is a board originally used in Zuma's Revenge. It was used in during beta testing and was first actually used in May 2011. Fruit is available in three locations, two in the inner rings, and one outside the track on the lower right corner.
Strategies
Arranged from easiest to perform to best way to get points.
Cannon + Fruit Strat + Chain Strat
The cannon may or may not be necessary depending on if you can get balls up to a layer and a half, then they are guaranteed to appear on the bottom.
Fruit + Double Tap
The best locations to double tap would be near the bottom-left/right areas. Unlike Major mouthful, if you let curves go too far back they'll appear near the outside which means having to go through two layers of balls.
The highest anyone's gotten to using this strategy at level 80 was a bit over 6 million.
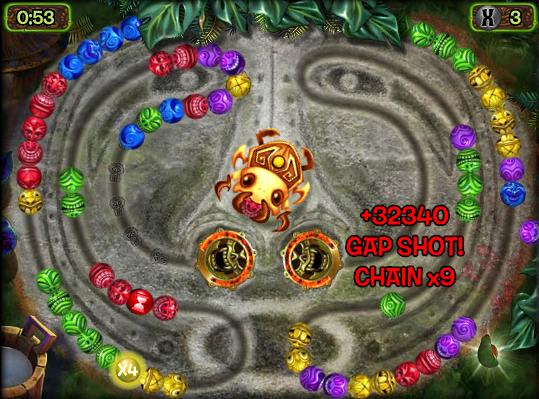
Double Gap
This is the best strategy, pointwise, that can be made normally other than double gap 2x (which only ensure that you're getting double gaps continuously, and is extremely hard if not impossible to set them up and maintain both of them for the duration of the game.) As long as you can keep the first row of balls down, then you're good. Otherwise, practice up on combos.
Setting up the Gap:
Refer to Advanced Gap Strategies if you need more information.
You can either use Epic Fruit if you feel you can lead balls easily, or you can resort to the Speed Ball power.
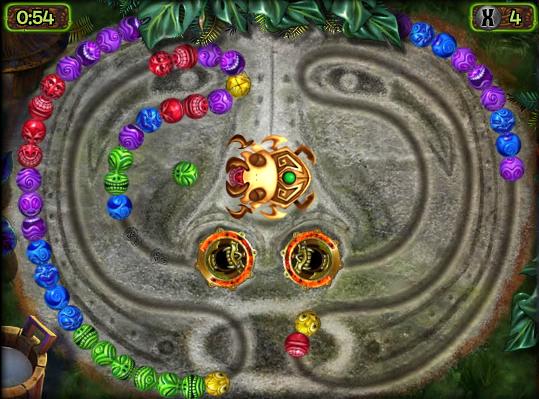
Step 1: Aim balls at left/right side with whatever you feel comfortable with, creating holes and combos to keep the layer of balls down.
Step 2: Create the double gap formation (note this green ball misses the edge and slams in between the blue balls - you might need to practice and experiment a bit to determine where exactly you aim the ball so you hit the end of the curve without missing at this angle.)
Step 3: While you're setting up that double gap, continue to make matches to grab powerups and to keep the curve down (ensuring after combos are made, balls don't slide back - you might need to think ahead for this one)
Step 4: Aim through the gap and you're set for the rest of the game (or unless multipliers/time balls appear in weird places)
Bonus: See the red balls near the end? That can be matched allowing you to have two locations to make double gaps at. A yellow ball will be aimed near the purple one on the top because the gap is too wide and allows for more points. Gaps will be aimed over here first - what we don't hit here, we get a second chance on the second gap.
As a benefit, if a powerup ball happens to appear, we can just simply roll the set of balls back (this will roll reds back and grab 7x at the same time) and continue on with one double gap.
Overall, which gap size do you use? Two or three? Three is safer, but two gives you 15% more points and require that you need to take a second or two to aim precisely through gaps, especially with little margin of error. Whichever you decide is up to you. Either way, DON'T JERK THE MOUSE when you're firing or after (which is why it's suggested to keep sound as low as possible to prevent surprise jumps) or you'll miss and hit the gap edge.
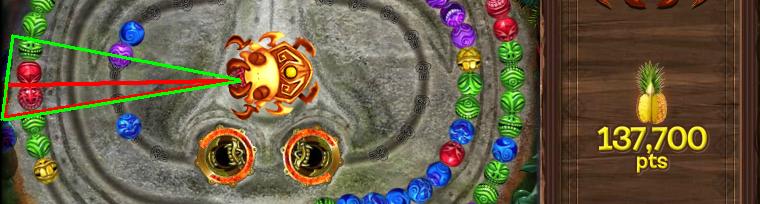
Note: The green zone is where you can freely move your mouse to aim and the ball will go through the gap. The red zone is where you can aim for a two-ball gap.